Rated 4.9 on Google

Back to Blog
No Crossed Wires: Best Methods for Wiring an Electric Panel
March 16, 2022
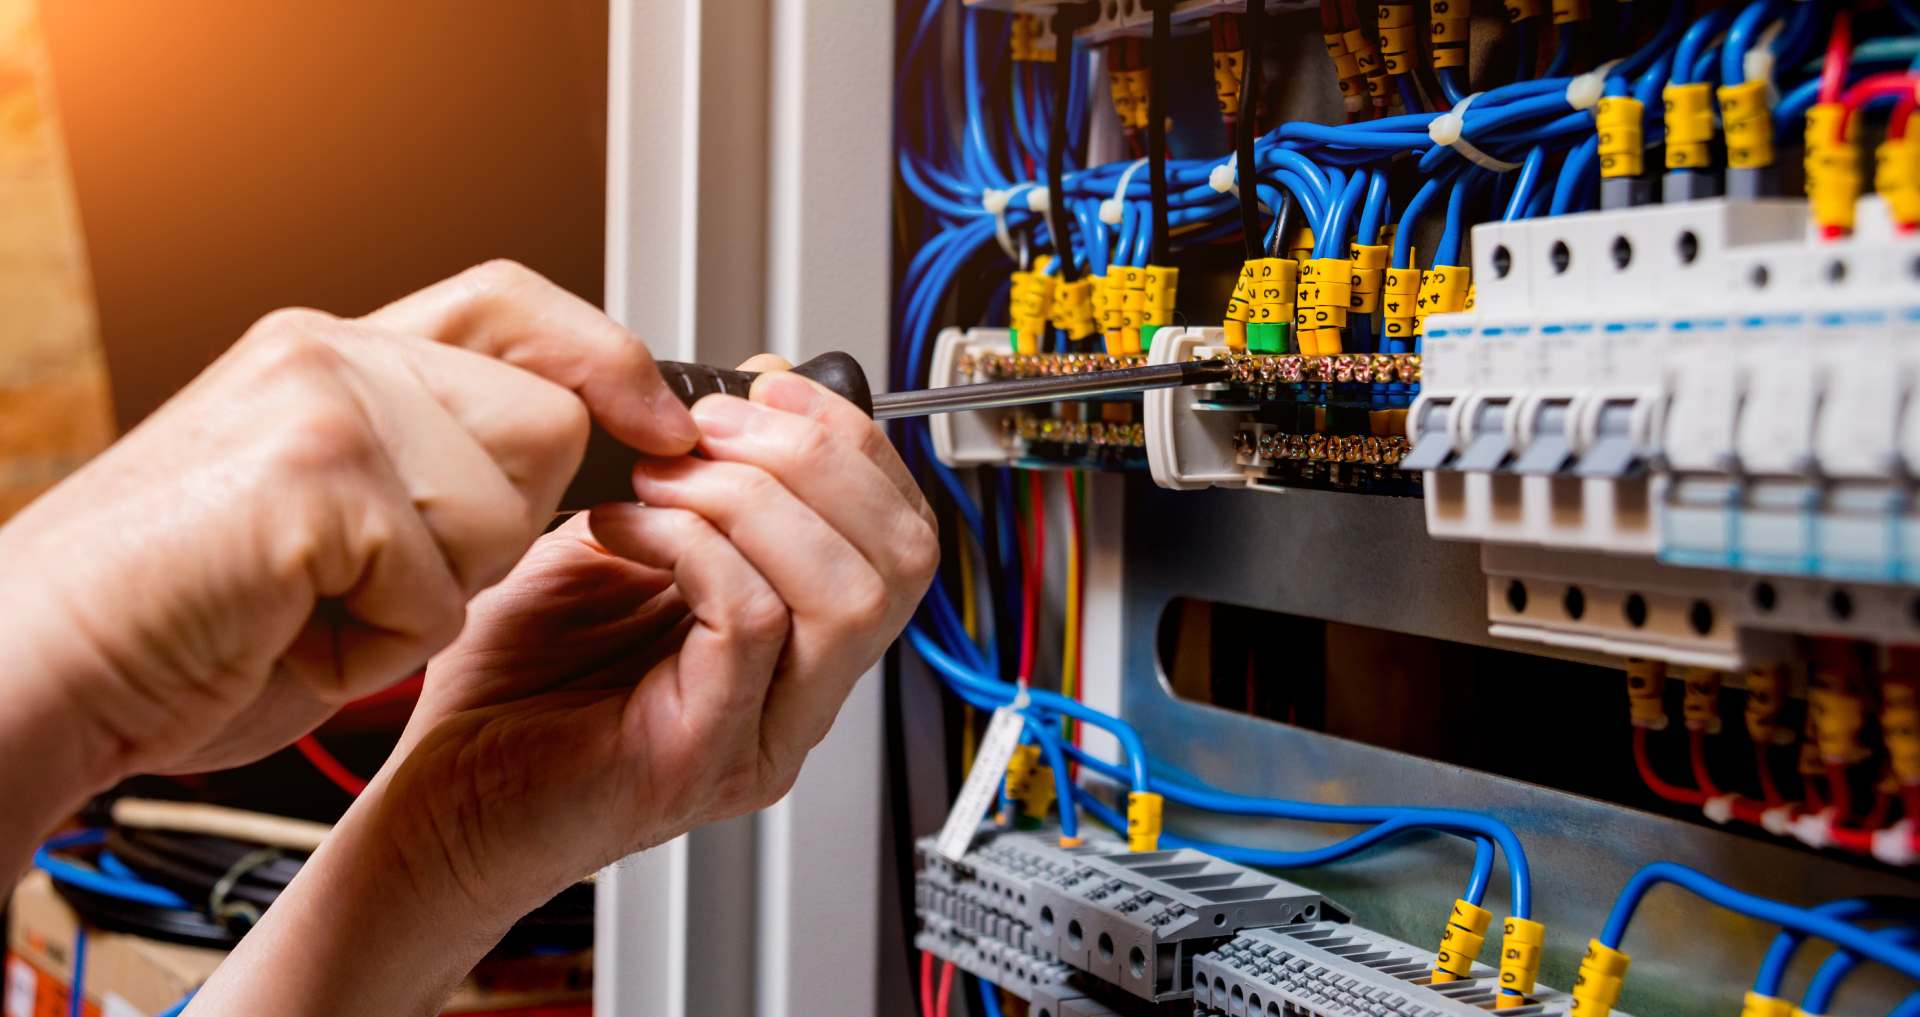
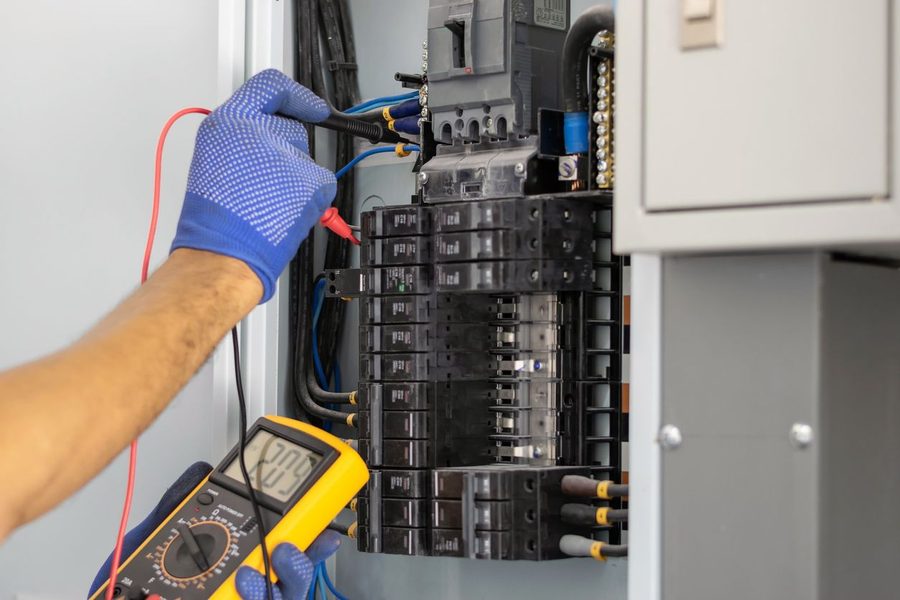
The wiring of a residential or commercial electric panel is a complicated process. Understanding the difference between single-phase and 3-phase wiring, knowing what size wire you will need, and ensuring the wires aren’t crossed all adds to this project’s complexity. Don’t worry, though. A professional electrician from the Chesapeake Bay area is here to help.
There are a few best methods for wiring electric panel and connecting a circuit breaker box. With the variety of solutions available, it is essential to choose one that works for you and your needs. Before we get started, let’s look at how to choose the best method for your project.
Checklist of Common Features that Effective Methods Should Have
Below are a few of the features you will find in effective methods for wiring an electric panel. The more options your method has, the better it is.
1. Ease of Use
It should be easy to figure out how to use the method and get started. You don’t want to spend too much time learning something new or digging up a video tutorial online.
2. Versatility
Another feature to look for in a good method is versatility. This means you can use the method on different types of projects and also have multiple opportunities to use it again in the future.
3. Ease of Installation
Look for an option that doesn’t require much work or time, but still produces optimal results. You can get a great home or office electric panel wired and connected to circuit breakers in no time with the right option.
4. Safe for You and Your Tools
Ensure your method is safe. Choose something that won’t put you at risk of getting shocked, burning yourself on a hot electrical panel, or worse. If it’s dangerous, don’t use it!
5. Price
Price is an often overlooked, but still an essential factor. Many people will skimp on this and pay the price later when their method falls short of expectations. Don’t be that person! Ensure your method is affordable and within your budget before giving it a go.
6. Support
Whether you need support for a specific product, like the main breaker, tutorial help on installation, or to find out if your method is the right one for you, make sure there is some way to get hold of quality customer service.
7. Safe for Employees and Customers
If you have a business, it is crucial to choose a method that won’t shock your employees or customers. You don’t want them getting hurt by your work! Ensure the option you choose conforms to industry standards and will not harm those around it.
8. CE or UL Approval
The best methods and products should be CE or UL approved, as these marks of approval mean that your method is up to standard and will not pose a potential hazard. In addition, all the components you use from circuit breakers to breaker snaps should be approved.
9. Effective Homeowner Support
Finally, ensure there is quality homeowner support. This means that if you run into any problems using the product or need some help along the way, there should be someone easy to get in touch with who can assist.
Best Methods for Wiring an Electric Panel
These are the most effective, safe, and versatile methods for wiring an electric panel.
1. Batten Wiring
Batten wiring is a simple, effective, and safe solution for wiring an electric panel. It has become the go-to choice for many professional electricians for easy jobs that require little time and effort.
Insulated wires will run through wooden battens, and these wires will get covered in a protective sleeve before they get attached to the screws. The wires can then get joined together using armored clamps.
How to Use It
Batten wiring requires only two basic steps for installation:
- Cut wooden battens into sections about an inch thick and fit them into your electric panel.
- Attach armored clamps to the battens. Ensure the wires are firmly in place before connecting them to your screw terminals.
Why It’s The Best Option
It is cheap, easy to use, and it will effectively get your electric panel up and running in no time. You can do this job with little effort and stress.
Batten wiring is also the safest option for you, your tools, and your electric panel. You won’t have to worry about shocking yourself or frying equipment like with other methods.
2. Conduit Wiring
Conduit wiring is an excellent method for wiring an electric panel because it’s efficient, safe for you and your tools, versatile, and much more. To wire an electric panel using a conduit, you must drill a hole in the standard electrical box where your electric panel will fit snugly.
Next, run a metal or plastic sheathing through the conduit to protect your wires. The sheathing helps you create a more organized wiring system that will make it easier to manage your cables neatly.
You can then attach several armored clamps on one end of the sheathing and use them to attach the wires to an electric panel screw terminal.
How To Use It
Unlike batten wiring, conduit wiring requires a bit more work to get your electric panel up and running. Conduit does provide you with an easy way to keep your wires organized, though.
- Ensure you have all the materials you need before beginning installation.
- Drill a hole in the middle of your electrical box.
- Attach the conduit to your electric panel.
- Attach armored clamps to the sheathing on one side of your conduit.
- Connect your wires to the clamps on the other side of the conduit and attach them to screw terminals on your electric panel.
Why It’s The Best Option
Conduit wiring is the best option because it is safe for you and your tools, easy to work with, versatile, and more. Plus, if you ever need to make changes or improvements to your wiring system later, all you have to do is detach the clamps from your conduit wire before reattaching them in a different position.
3. BX Wiring
BX wiring is similar to conduit wiring. The main difference between the two methods is that BX wiring doesn’t have metal sheathing, so you have to use armored clamps on the ends of your wires for them to stay connected to screw terminals on your electric panel. BX wiring is typically used for wiring a subpanel, which is separate from your primary electric panel.
How To Use It
BX wiring is easier than conduit wiring because the clamps attach directly to your wires. Conduit wiring does have its benefits, but BX can be a simpler option if you don’t want to worry about attaching metal sheathing to your electric panel.
Drill a hole in the middle of your electric panel. Ensure you don’t drill a hole that’s too big, or it will compromise the strength of your electrical box.
- Attach armored clamps to both sides of your wires and attach them to screw terminals on your electric panel.
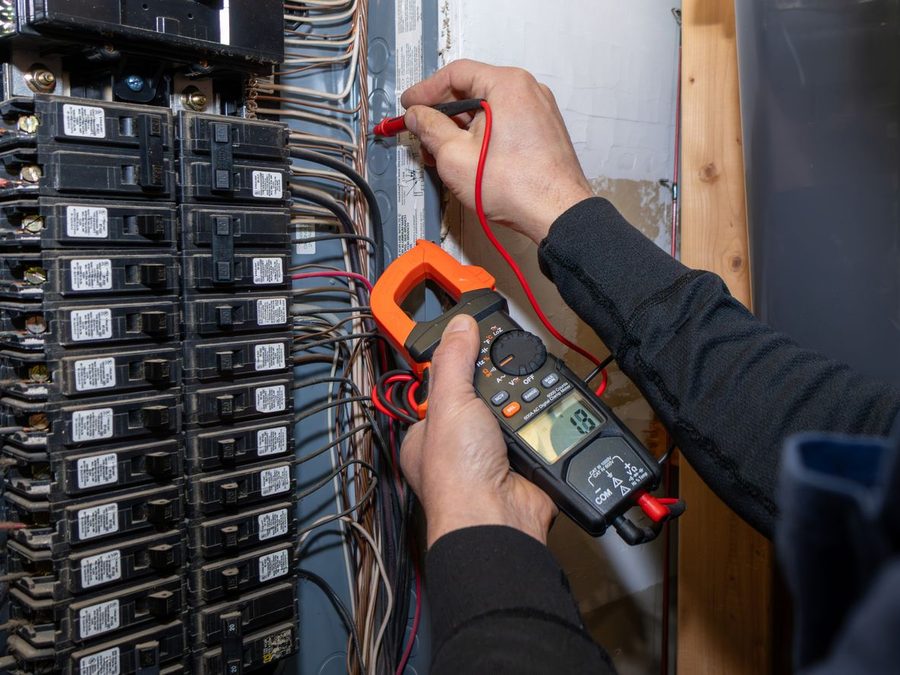
- Use a circuit tester to ensure that you have correctly connected all of your wires before powering on your electric panel.
Why It’s The Best Option
BX wiring is the best option because it is low-cost, easy to use, and safe for you and your tools. Plus, it offers an organized wiring system that will make it easier to work with your cables.
4. Romex Wiring
Romex wiring is a reliable option for wiring an electric panel because it’s easy to use, versatile, and low-cost. To wire an electric panel using Romex wiring, all you have to do is drill a hole in the middle of your electrical box. You can then attach armored clamps to the ends of your wires and attach them to screw terminals on your electric panel.
How To Use It
Romex wiring is very similar to BX wiring in that you have to attach armored clamps to both sides of your cables before attaching them to screw terminals on an electric panel.
- Drill a hole in the middle of your electric panel. Be sure not to make the hole too big, or it will compromise the strength of your electrical box.
- Attach armored clamps to both sides of your wires and attach them to screw terminals on your electric panel.
- Use a circuit tester to ensure that you have correctly connected all of your wires before powering on your electric panel.
Why It’s The Best Option
Romex wiring is the best option because it is safe for you and your tools, easy to work with, and versatile. Plus, if you need to make changes or improvements to your wiring system later, all you have to do is detach the clamps from your wires and reattach them in a different position.
5. UF Wiring
UF wiring is the same as conduit wiring, except instead of using metal sheathing, you have to use threaded aluminum tape or UF wire. The main benefit of using this method over BX wiring or conduit wiring is that you can thread the wires through existing holes in an electric box.
How To Use It
UF wiring is easy to use because you only have to thread your wires through the holes in your electrical box and screw them into place. You can then attach armored clamps or threaded aluminum tape to both sides of your wire and attach it to screw terminals on your electric panel.
- Drill a hole in the middle of your electric box. Ensure you don’t make it big or compromise the strength of your electrical box.
- Thread the wires through the holes in your electric panel and attach them to screw terminals on an electric panel.
Use a circuit tester to ensure that you have correctly connected all of your wires before powering on your service panel.
Why It’s The Best Option
UF wiring is the best option because it is easy to use, lower cost than conduit wiring, and still offers flexible installation options. Plus, adding threaded aluminum tape or UF wire to this kind of wiring system makes it even more versatile.
6. Cleat Wiring
Cleat wiring is a method of wiring that involves using steel bars to create a system where you can attach your cables easily. If you have ever worked with steel beam, you know how strong this wiring system can be.
How To Use It
Cleat wiring is easy to use because you can attach your cables to the steel bar with armored clamps or screws. You can then screw the bars into a set of mounting brackets and attach these brackets to a screw terminal on an electric panel.
- Drill a hole in the middle of your electric panel large enough for your steel bar.
- Attach your cables to the steel bar with armored clamps or screws.
- Screw the bars into a set of mounting brackets and attach these brackets to screw terminals on an electric panel.
Why It’s The Best Option
Cleat wiring is the best option because it is easy to use, strong, safe for you and your tools, and versatile. Plus, if you need to make changes or improvements to your wiring system later, all you have to do is move the mounting brackets along the steel bar until you find a position that works for you.
Safety Measures to Consider
Although all wiring systems carry some risks, you can lower your risk of injury by following these safety precautions when installing your electrical system.
#1. Wear Protective Gear
Ensure you wear protective gear like safety glasses, boots, and gloves before handling your cables. Also, when you are working with wires and cables, even a neutral wire, ensure they aren’t near any water.
You can get wet easily when working outside or in a damp area, so plan your wiring installation with this in mind.
#2. Choose A Suitable Location
Choose a strategic location for wiring where there isn’t much moisture and the temperature doesn’t fluctuate wildly. If the weather is too hot or cold, you can reduce the lifespan of your cables and electrical panels.
#3. Keep Your Wires Away From Any Water
Wires and water don’t mix well because they can cause a short circuit if it spills on your wires. If this happens, turn off your electric panel before checking to see what’s wrong with your wires and repairing them.
Also, if you don’t need to use it, cover up any exposed wiring using electrical tape. This will prevent the risk of water causing a short circuit.
#4. Ensure Your Tools Are Safe
Before you put your tools away, be sure they are all in working order and that none of them have damages.
You’re already at risk of injury because you’re working with electricity and tools, so using tools that don’t work right or could hurt you make things worse.
#5. Work Smart, Not Hard
It is easy to get overwhelmed when wiring your electrical system, but take things one step at a time and don’t rush yourself. If you feel like you are getting frustrated with your project, take an hour break.
#6. Use the Right Tools
Only use tools designed to handle electrical cables like pliers and wire cutters. Using metal sheathing clamps or any other tool with exposed metal is dangerous because it can cause a short circuit.
Get Professional Help Today!
The best method for wiring an electric panel is dependent on your preferences and other factors like ease of use, cost, safety, etc. If you are looking to wire an electric panel for the first time or need help deciding which option may be right for you, contact Chesapeake Electric.
Although we may have made wiring an electric panel sound fairly easy, it can be complicated and dangerous if not done properly. If you have any doubts or worries, it’s best to call in a professional. A licensed and insured electrician will be able to quickly decide which method will work best for you. They will have all the tools and expertise needed to wire your electrical panel correctly in a timely manner so you have peace of mind and a functioning electrical system. If you are in the Annapolis, MD area and need a qualified electrician, call us today! You can schedule a consultation. We are experienced with wiring systems and can help you make the right decision while keeping safety in mind.
Recent Posts
Smart Electrical Panels vs. Traditional Panels: Are They Worth the Upgrade?
June 18, 2026
June 18, 2026

Outdoor Electrical Installations Near the Chesapeake Bay: What Homeowners Should Know
June 18, 2026
June 18, 2026
Energy-Efficient Electrical Upgrades That Lower Utility Bills in Maryland Homes
June 17, 2026
June 17, 2026
When Electrical Repairs Turn Into Major System Upgrades
May 28, 2026
May 28, 2026
Electrical Inspections Before Buying a Historic Annapolis Home
May 28, 2026
May 28, 2026
Electrical Panel Repairs vs. Full Replacement: How Maryland Electricians Decide
May 28, 2026
May 28, 2026

Why Coastal Maryland Weather Can Damage Electrical Systems
April 29, 2026
April 29, 2026