⚡ Power Outages Don't Wait - Neither Should You. Get $500 OFF Whole-Home Generator Installation Today! ⚡

Back to Blog
How to Install a Ceiling Fan Without Existing Wiring
August 2, 2023
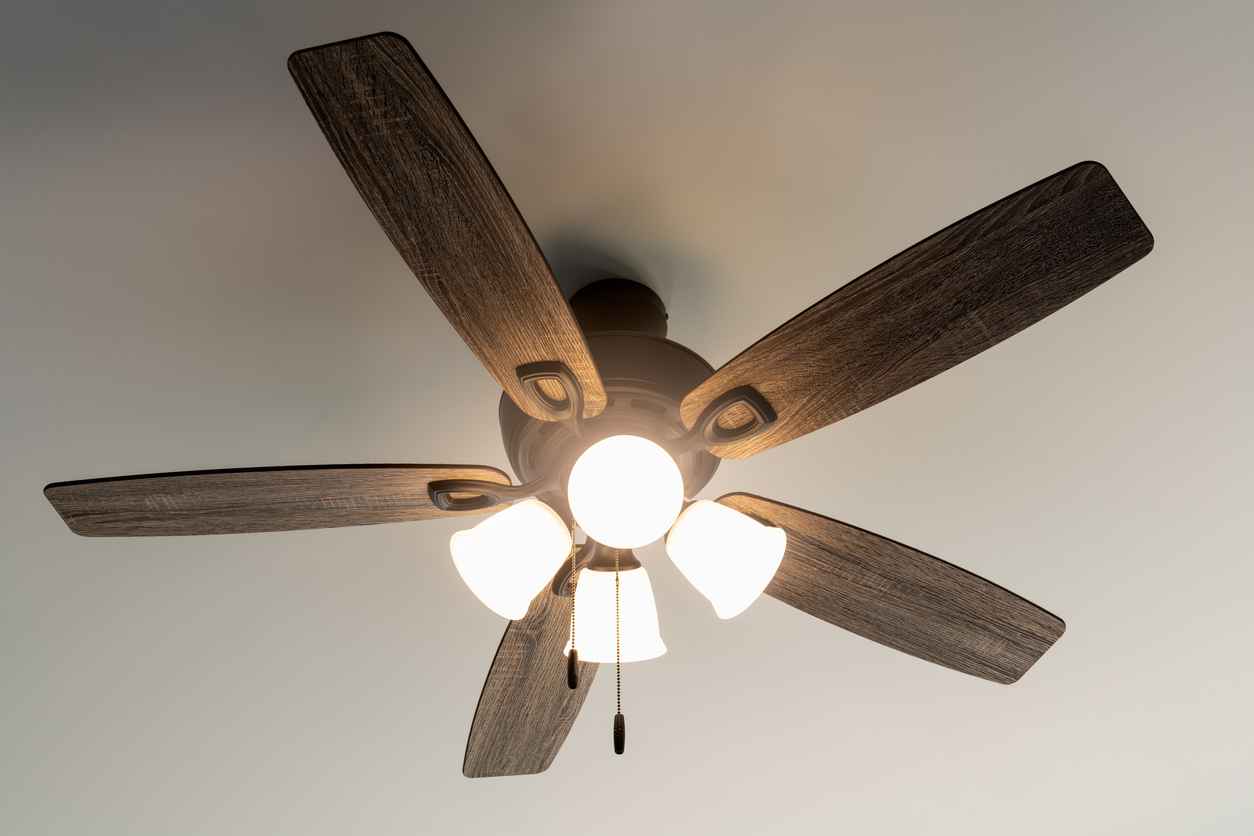
Ceiling fans are a fantastic addition to any home, providing comfort and energy efficiency throughout the year. However, installing a ceiling fan can be daunting, especially if your home lacks existing wiring for this purpose. If you’ve been considering adding a ceiling fan but are unsure of how to proceed without existing wiring, fret not! In this blog post, we’ll walk you through the steps to install a ceiling fan without existing wiring.
Step 1: Choose the Right Location
Before starting the installation process, choose the ideal location for your ceiling fan. The most common and effective placement is in the center of the room, ensuring maximum airflow and distribution of cool or warm air. Make sure there are no obstacles in the way and that the fan’s blades will be at least 18 inches away from the nearest wall. Also, check for a nearby power source, as you’ll need it to run the fan.
Step 2: Install a Ceiling Fan Support Brace
To ensure your ceiling fan is securely mounted, you’ll need a ceiling fan support brace. If there is an existing light fixture in the desired location, you can remove it and use the electrical box to attach the support brace. If not, you’ll need to cut a hole in the ceiling, following safety precautions and local building codes. Once the support brace is in place, ensure it can support the weight of the ceiling fan to prevent any future issues.
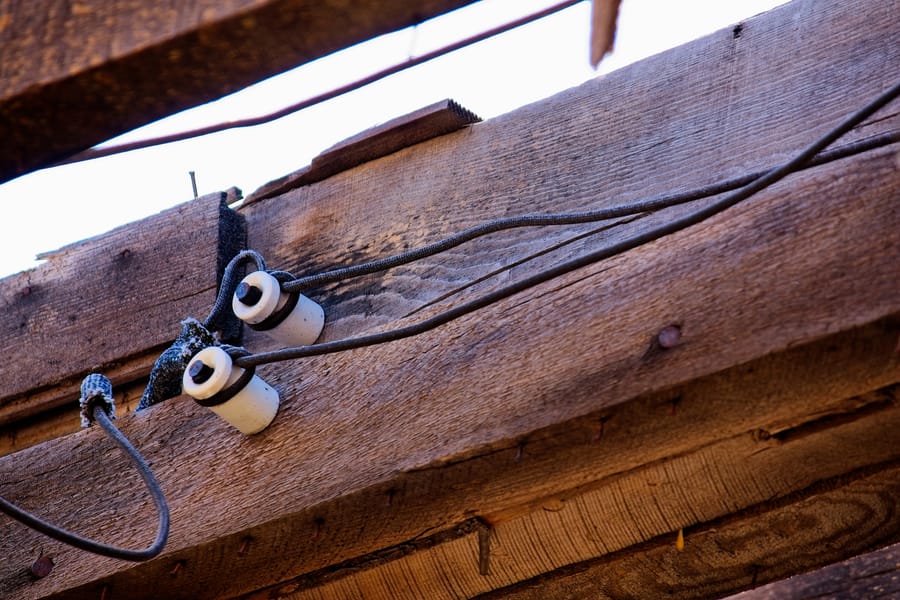
Step 3: Run Electrical Wiring
With the support brace installed, you can now run the electrical wiring to power your ceiling fan. If you have experience with electrical work, you can handle this step yourself. However, it’s essential to remember that working with electricity can be dangerous, so if you’re unsure, it’s best to seek professional assistance from Chesapeake Electric.
If you decide to proceed, begin by turning off the power supply to the area where you’ll be working. Use a stud finder to locate any potential obstacles in the ceiling, and then carefully run the wiring from the nearest power source to the support brace. Ensure you follow proper safety guidelines and secure the wiring correctly to avoid any hazards.
Step 4: Install the Ceiling Fan
With the electrical wiring in place, it’s time to install your ceiling fan. Carefully follow the manufacturer’s instructions for assembly and installation. Typically, the process involves attaching the fan’s mounting bracket to the support brace, connecting the wires (black to black, white to white, and green to green or bare copper), and securing the fan to the bracket.
Double-check that all connections are tight and secure, as loose connections can lead to potential hazards. Once everything is in place, you can attach the fan blades and any additional components provided with the fan.
Step 5: Test and Enjoy!
With the ceiling fan installed, turn on the power and test its functionality. Ensure the fan operates smoothly and without any wobbling or strange noises. If everything looks good, you’re ready to enjoy the enhanced comfort and energy efficiency that your new ceiling fan brings to your home.
Conclusion
Installing a ceiling fan without existing wiring might seem like a challenging task, but with careful planning and adherence to safety guidelines, it’s a feasible DIY project. Remember, however, that electrical work can be hazardous, so if you’re unsure or uncomfortable handling the installation yourself, reach out to the experts at Chesapeake Electric.
By selecting the right location, installing a secure support brace, running electrical wiring properly, and following the manufacturer’s instructions, you’ll have a beautiful and functional ceiling fan in no time. Enjoy the cool breeze during hot summer days and the gentle warmth during winter evenings, all thanks to your newly installed ceiling fan!
Recent Posts
The Importance of Having a Home Generator in Annapolis
February 25, 2026
February 25, 2026

Why Annapolis Humidity and Coastal Air Corrode Your Home’s Electrical Panel
February 24, 2026
February 24, 2026
The Biggest Electrical Risks in Older Annapolis and Historic District Homes
February 24, 2026
February 24, 2026

How Maryland’s Seasonal Nor’easters Stress Older Backup Power Systems
January 23, 2026
January 23, 2026
The Annapolis Homeowner’s Diagnostic: Is Your Generator a “Quick Fix” or a Safety Risk?
January 22, 2026
January 22, 2026
The Best Battery Backups for Historic Districts: An EcoFlow vs. Generac Comparison
January 21, 2026
January 21, 2026
Partial Power During Maryland Outages: How a Manual Transfer Switch Keeps Essentials Running
December 19, 2025
December 19, 2025