⚡ Power Outages Don't Wait - Neither Should You. Get $1000 OFF Standby Generator Installation Today! ⚡

Back to Blog
How to Clean a Ceiling Fan
August 12, 2023
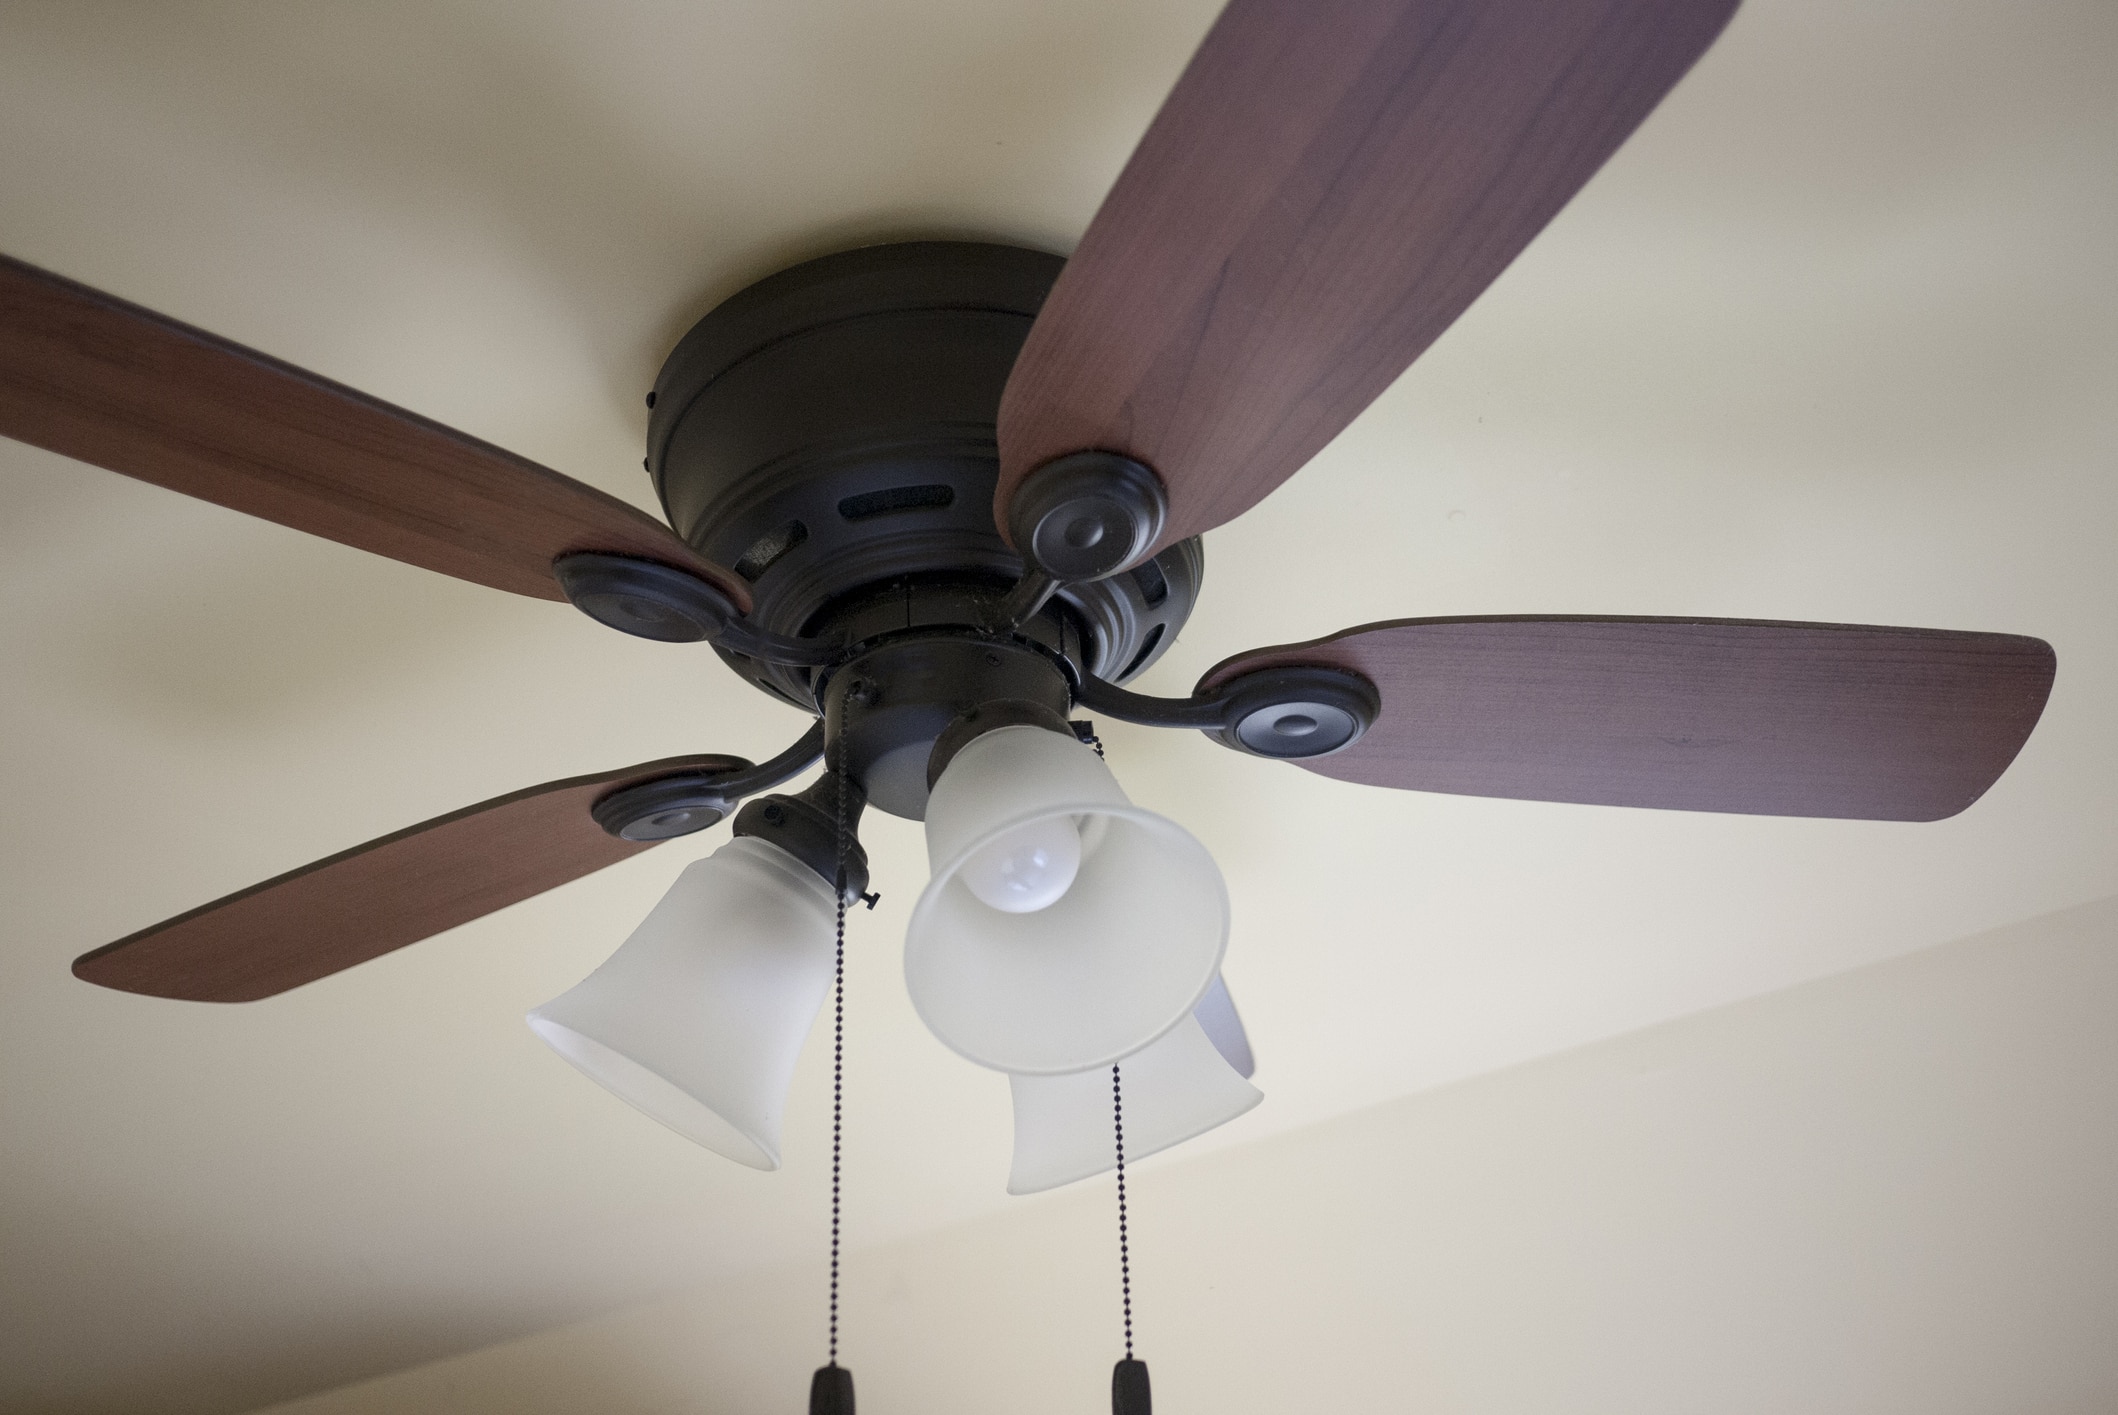
Ceiling fans are a ubiquitous feature in many homes, offering comfort and energy efficiency year-round. However, these handy appliances can accumulate dust and grime over time, not only affecting their performance but also impacting indoor air quality. Regular maintenance is crucial to ensure your ceiling fan functions optimally and keeps your living space clean and comfortable. In this guide, brought to you by Chesapeake Electric, we’ll walk you through the steps to effectively clean your ceiling fan.
Why Clean Your Ceiling Fan?
Ceiling fans play a vital role in maintaining a comfortable atmosphere in your home. They help distribute cool air during hot months and circulate warm air during the colder seasons, reducing the strain on your HVAC system and potentially saving you money on energy bills. Regular cleaning prevents the accumulation of dust, which can impair the fan’s performance and even lead to motor overheating. Moreover, keeping your ceiling fan clean contributes to healthier indoor air quality by preventing the dispersal of allergens and dust particles.
Gather Your Cleaning Supplies
Before you begin, ensure you have the necessary cleaning supplies on hand. Here’s what you’ll need:
Step Stool or Ladder: Safety is paramount when cleaning ceiling fans. Make sure you have a stable platform to reach the fan blades safely.
Microfiber Dusting Cloth: Microfiber cloths are excellent at capturing dust without spreading it around. They are gentle on surfaces and help avoid scratching fan blades.
Cleaning Solution: You can create a simple cleaning solution by mixing mild dish soap with water. Alternatively, there are commercial cleaning solutions available. Just make sure they are safe for use on fan blades.
Bucket of Water: Fill a bucket with the cleaning solution or water for rinsing your cleaning cloth.
Protective Gear: To avoid getting dust and cleaning solution on yourself, consider wearing old clothes, safety goggles, and even a dust mask.
Step-by-Step Ceiling Fan Cleaning Process
Follow these steps to clean your ceiling fan effectively:
Step 1: Turn Off the Fan
Before you start cleaning, ensure the fan is turned off and comes to a complete stop. This will prevent any accidents or injuries while you’re cleaning.
Step 2: Dusting the Blades
Climb the step stool or ladder and gently hold each blade in place while you wipe it with a microfiber cloth dampened in the cleaning solution. Start from the base of the blade and move towards the tip. Remember to wipe the top and bottom of each blade.
Step 3: Cleaning the Light Fixture
If your ceiling fan has a light fixture, gently remove it and clean it separately. Use the same cleaning solution and cloth to wipe away dust and grime. Make sure the light fixture is completely dry before reattaching it.
Step 4: Cleaning the Fan Housing
Wipe down the motor housing, downrod, and any other visible parts of the fan with the damp microfiber cloth. Be cautious around electrical components, and avoid getting any liquids into them.
Step 5: Final Touches
Once you’ve cleaned all the components, allow them to air dry. Check for any spots you might have missed and give them a final wipe. Once everything is dry and clean, turn the fan on to ensure it’s running smoothly.
Regular Maintenance
To keep your ceiling fan in top condition, it’s advisable to clean it every few months, or more frequently if you live in a particularly dusty environment. Regular maintenance not only extends the lifespan of your fan but also ensures its optimal performance and keeps the air in your home clean and fresh.
In conclusion, cleaning a ceiling fan is a simple yet crucial task that contributes to your home’s comfort and air quality. By following the steps outlined in this guide, provided by Chesapeake Electric, you can maintain a clean and efficient ceiling fan that enhances your living space year-round. Remember, safety first – always turn off the fan before cleaning and use appropriate protective gear.
Recent Posts
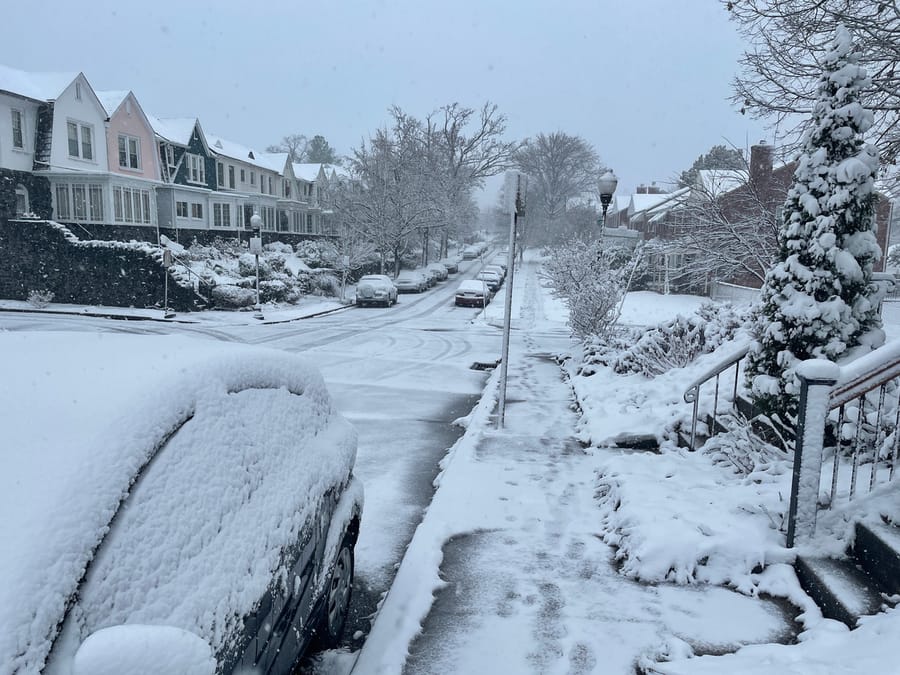
The Importance of Having a Home Generator in Annapolis
February 25, 2026
February 25, 2026

Why Annapolis Humidity and Coastal Air Corrode Your Home’s Electrical Panel
February 24, 2026
February 24, 2026
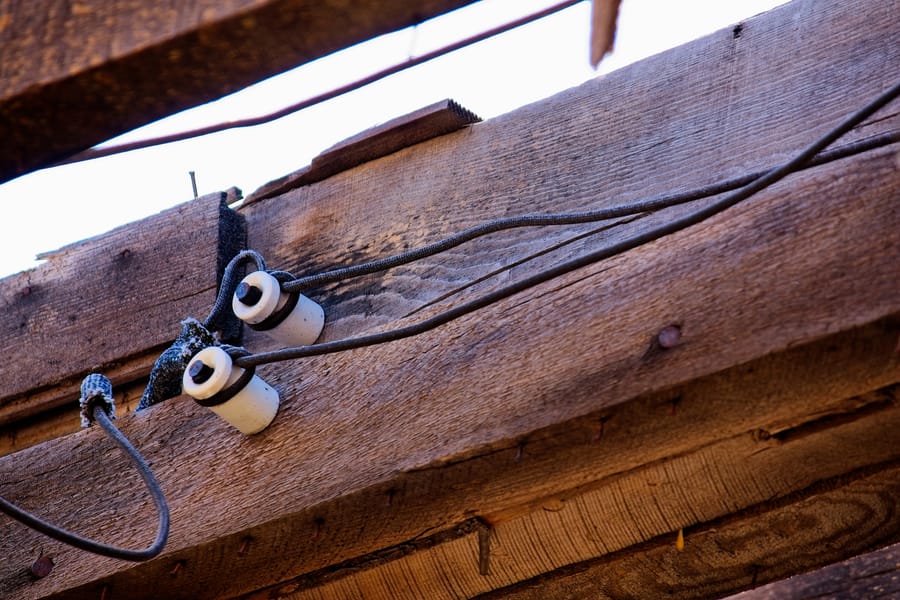
The Biggest Electrical Risks in Older Annapolis and Historic District Homes
February 24, 2026
February 24, 2026

How Maryland’s Seasonal Nor’easters Stress Older Backup Power Systems
January 23, 2026
January 23, 2026
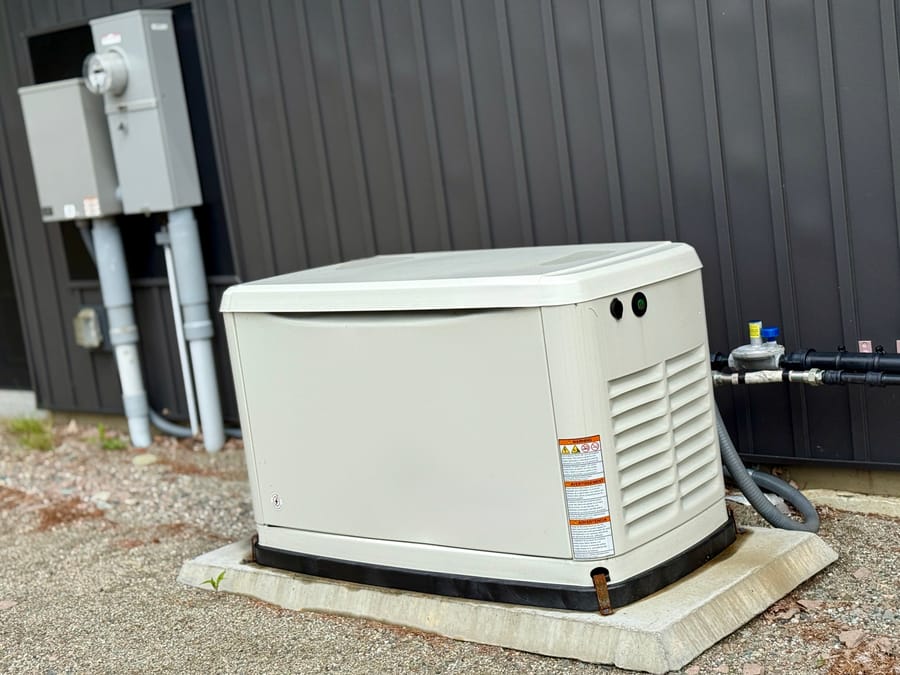
The Annapolis Homeowner’s Diagnostic: Is Your Generator a “Quick Fix” or a Safety Risk?
January 22, 2026
January 22, 2026
The Best Battery Backups for Historic Districts: An EcoFlow vs. Generac Comparison
January 21, 2026
January 21, 2026
Partial Power During Maryland Outages: How a Manual Transfer Switch Keeps Essentials Running
December 19, 2025
December 19, 2025