How to Clean an Exhaust Fan
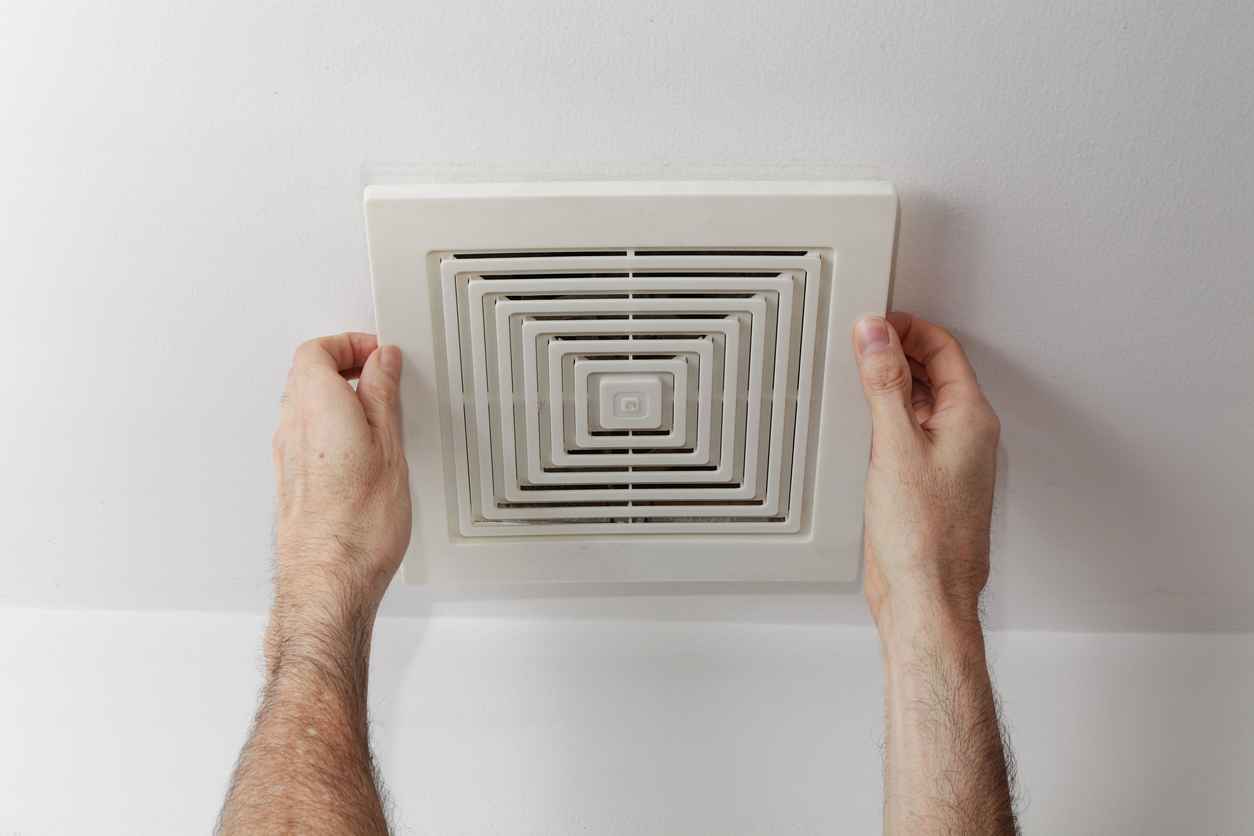
Exhaust fans play a crucial role in keeping your home fresh and ventilated. They help remove moisture, odors, and airborne contaminants, making them essential in areas like bathrooms and kitchens. Over time, however, exhaust fans can accumulate dust, dirt, and grime, reducing their effectiveness. Regular cleaning ensures that your exhaust fan operates efficiently and lasts longer. In this guide, we’ll walk you through the steps of cleaning an exhaust fan to maintain its performance and improve air quality in your home.
Why is it Important to Clean Your Exhaust Fan?
A dirty exhaust fan can lead to several issues. First, it reduces the fan’s ability to remove humidity and odors, which can cause mold growth in damp areas like bathrooms. Additionally, dust buildup can block the airflow and cause the fan to work harder, reducing its lifespan and increasing energy consumption. By cleaning your exhaust fan regularly, you can prevent these problems and keep your home comfortable and safe.
How Often Should You Clean Your Exhaust Fan?
The frequency of cleaning depends on how often you use the fan and where it’s located. Bathroom exhaust fans should typically be cleaned every six months due to the moisture they handle. Kitchen exhaust fans may need more frequent cleaning due to the grease and cooking particles they filter. If you notice dust buildup, reduced airflow, or noise coming from the fan, it’s time for a cleaning.
Step-by-Step Guide to Cleaning an Exhaust Fan
Cleaning your exhaust fan is a relatively simple task that can make a big difference in its performance. Follow these steps for a thorough clean:
Step1: Turn Off Power to the Exhaust Fan
Before cleaning your exhaust fan, ensure your safety by turning off the power at the circuit breaker. This prevents any risk of electrical shock while working on the fan.
Step 2: Remove the Fan Cover
Most exhaust fan covers are held in place by clips or screws. Carefully remove the cover by either unclipping or unscrewing it. If there’s dust buildup on the cover, you can clean it by soaking it in warm, soapy water.
Step 3: Clean the Fan Blades
Once the cover is removed, you’ll have access to the fan blades. Use a vacuum cleaner with a brush attachment to remove loose dust and debris from the blades. For any stubborn dirt, wipe the blades with a damp cloth. Be gentle to avoid bending the blades or damaging the fan motor.
Step 4: Clean the Motor and Housing
With the blades clean, use a vacuum or microfiber cloth to wipe down the motor and the fan housing. Pay attention to corners where dust tends to accumulate. If you notice any grease or grime, use a mild detergent solution to clean the housing and motor area. Make sure not to let water come into contact with the electrical components.
Step 5: Check the Vent Duct
The vent duct, which connects the exhaust fan to the outside of your home, can also collect dust and debris. Check the duct for any blockages and clean it with a vacuum if necessary. A clear duct ensures proper airflow and prevents the fan from overworking.
Step 6: Reassemble the Fan
After everything is clean and dry, reassemble the exhaust fan. Replace the cover and secure it with the screws or clips. Finally, turn the power back on and test the fan to ensure it’s operating smoothly and quietly.
Tips for Maintaining Your Exhaust Fan
To keep your exhaust fan running efficiently between cleanings, consider these maintenance tips:
- Run the Fan Regularly: Running the fan for at least 10-15 minutes after using the bathroom or kitchen helps clear out moisture and odors, preventing the buildup of mold and mildew.
- Use a Timer: Consider installing a timer switch for your exhaust fan. This ensures the fan runs for the necessary amount of time without wasting energy.
- Check for Noise: Unusual noises can indicate a problem with the fan. If your fan becomes noisy, it might be time for a cleaning or repair.
Professional Exhaust Fan Services in Maryland
For professional exhaust fan installation, maintenance, and repairs, contact Chesapeake Electric. Our experienced team is here to handle all your electrical needs and keep your home running efficiently.
Recent Posts

January 23, 2026
January 22, 2026
January 21, 2026
December 19, 2025

December 19, 2025
December 19, 2025
November 21, 2025