How to Install Exterior Holiday Lighting That Will Shine
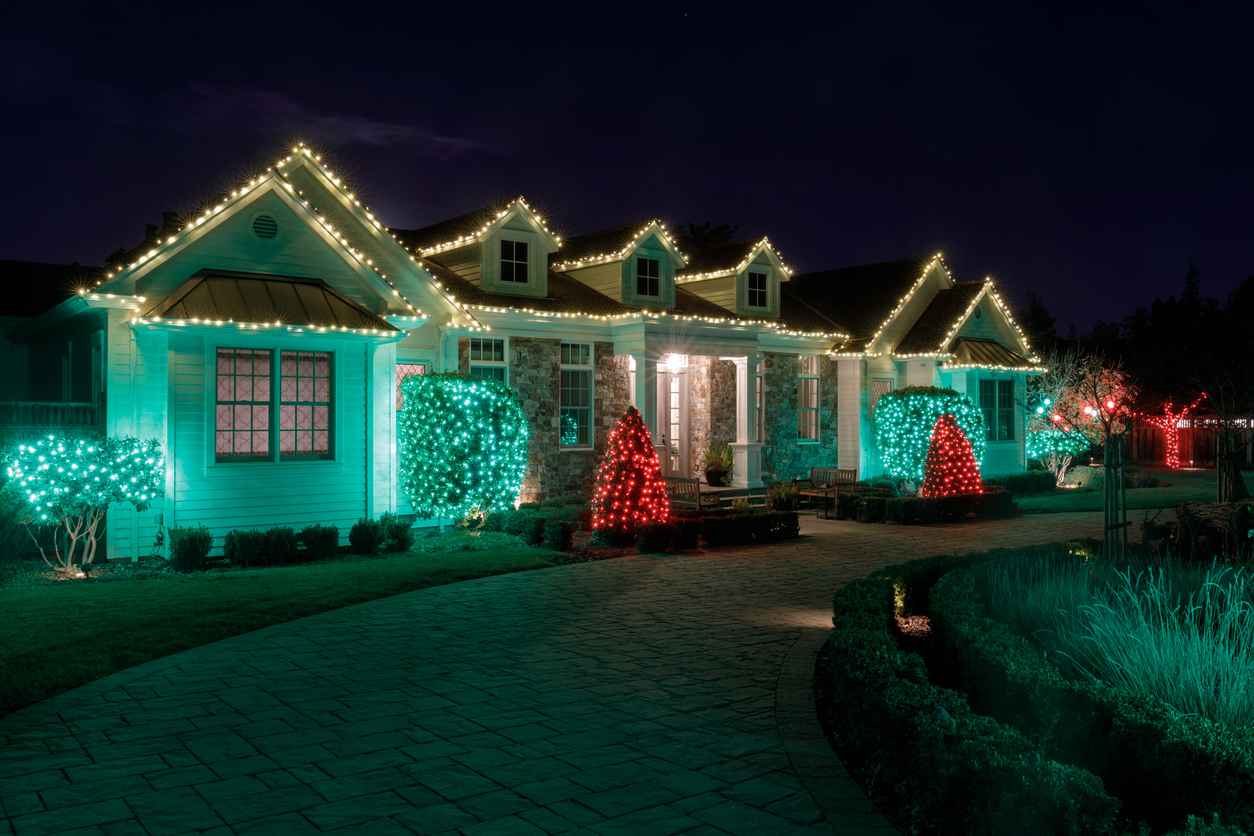
‘Tis the season to illuminate your home and neighborhood with the warm glow of holiday lights. Whether you’re a seasoned decorator or a first-time holiday lighting enthusiast, creating a stunning outdoor display that captures the magic of the season is a joyful tradition. But achieving that mesmerizing effect takes more than just draping a few strings of lights here and there.
To truly make your exterior holiday lighting shine and spread festive cheer far and wide, you’ll need a well-thought-out plan and some expert tips. In this blog, we’ll guide you through the art of installing exterior holiday lighting that will dazzle and delight, transforming your home into a radiant winter wonderland.
Holiday Lighting Electrical Safety Tips
Holiday lighting can bring warmth and cheer to your home, but it’s essential to prioritize electrical safety to ensure a joyful and accident-free holiday season. Here are some holiday lighting electrical safety tips to keep in mind:
- Inspect Your Lights: Before hanging any lights, carefully inspect them for damaged cords, frayed wires, broken sockets, or loose connections. Discard any damaged lights, and replace them with new, UL-listed lights.
- Use Outdoor-Rated Lights: Ensure that the lights you use for outdoor decorations are specifically designed for outdoor use. They are built to withstand weather conditions like rain and snow.
- Follow Manufacturer Instructions: Always adhere to the manufacturer’s instructions for installation and usage. This includes information on how many light strands you can safely connect end-to-end.
- Don’t Overload Circuits: Avoid overloading electrical circuits by plugging in too many lights. Overloading can lead to overheating, fires, or tripped circuit breakers. Use power strips with built-in overload protection when necessary.
- Use Outdoor Extension Cords: If you need extension cords for outdoor decorations, make sure they are rated for outdoor use. Keep them clear of walkways to prevent tripping hazards.
- Keep Cords Elevated: To prevent water and snow from causing electrical issues, elevate cords and plugs off the ground and away from puddles.
- Secure Lights Properly: Use insulated hooks or clips designed for outdoor use to secure lights to your home or other structures. Avoid using staples or nails, which can damage cords and create safety hazards.
- Turn Off Lights When Not in Use: Turn off your holiday lights when you go to bed or leave your home. You can use timers to automate this process, ensuring the lights aren’t left on unnecessarily.
How to Properly Install Holiday Lights Outside Your Home
Installing outdoor holiday lighting can transform your home into a festive wonderland. Here’s a step-by-step guide on how to install outdoor holiday lighting safely and effectively:
Step 1: Plan Your Lighting Design
- Decide where you want to hang your lights. Common locations include rooflines, eaves, windows, trees, bushes, and pathways.
- Measure the areas you plan to decorate to determine how many lights and extension cords you’ll need.
Step 2: Safety First
- Safety should always be a priority. Inspect your ladder to ensure it’s sturdy and positioned on a stable surface. Avoid overreaching, and have someone hold the ladder if possible.
- Check all lights for damage before installation.
Step 3: Install Outdoor Outlets
- If you don’t have outdoor outlets or enough outlets for your lighting design, consider using outdoor extension cords or power stakes. Ensure the extension cords are rated for outdoor use and equipped with GFCIs.
Step 4: Begin Installation
- Start at the electrical outlet or power stake and work your way up. Plug in your lights and test them before hanging to ensure they work correctly.
- Use clips, hooks, or adhesive clips designed for outdoor use to secure the lights in place. Follow the manufacturer’s instructions for attaching the lights to these fixtures.
- Avoid using staples or nails, as they can damage the cords and create safety hazards.
Step 5: Secure Lights
- Carefully attach the lights along your chosen path, outline rooflines, or wrap them around trees and bushes. Be gentle to avoid damaging the wires or bulbs.
- Use outdoor-safe tape or fasteners as needed to secure the lights where clips or hooks can’t be used.
Step 6: Connect Lights
- If your holiday lights come in multiple strands, connect them securely according to the manufacturer’s guidelines. Avoid overloading circuits by following the recommended maximum wattage.
Step 7: Set Up Timers (Optional)
- Consider using timers or remote controls to automate when your lights turn on and off. This saves energy and ensures your lights are on display when you want them to be.
Step 8: Test and Adjust
- Once all lights are installed, test them again to ensure they are working correctly.
- Step back and assess the overall appearance. Make any necessary adjustments to ensure an even and aesthetically pleasing display.
Step 9: Maintain and Monitor
- Regularly inspect your lights throughout the holiday season for any damage or issues. Replace any faulty bulbs promptly.
By following these steps and practicing safety precautions, you can install holiday lights outside your home to create a festive and safe atmosphere for all to enjoy during the holiday season.
Electrical Safety in Maryland
In the spirit of a safe and joyful holiday season, Chesapeake Electric is here to brighten your home with not just holiday lights but also peace of mind. Our dedicated team offers expert electrical safety services to homeowners in Maryland, ensuring your holiday celebrations are worry-free. Contact us for all of your electrical services this holiday season.
Recent Posts

January 23, 2026
January 22, 2026
January 21, 2026
December 19, 2025

December 19, 2025
December 19, 2025
November 21, 2025